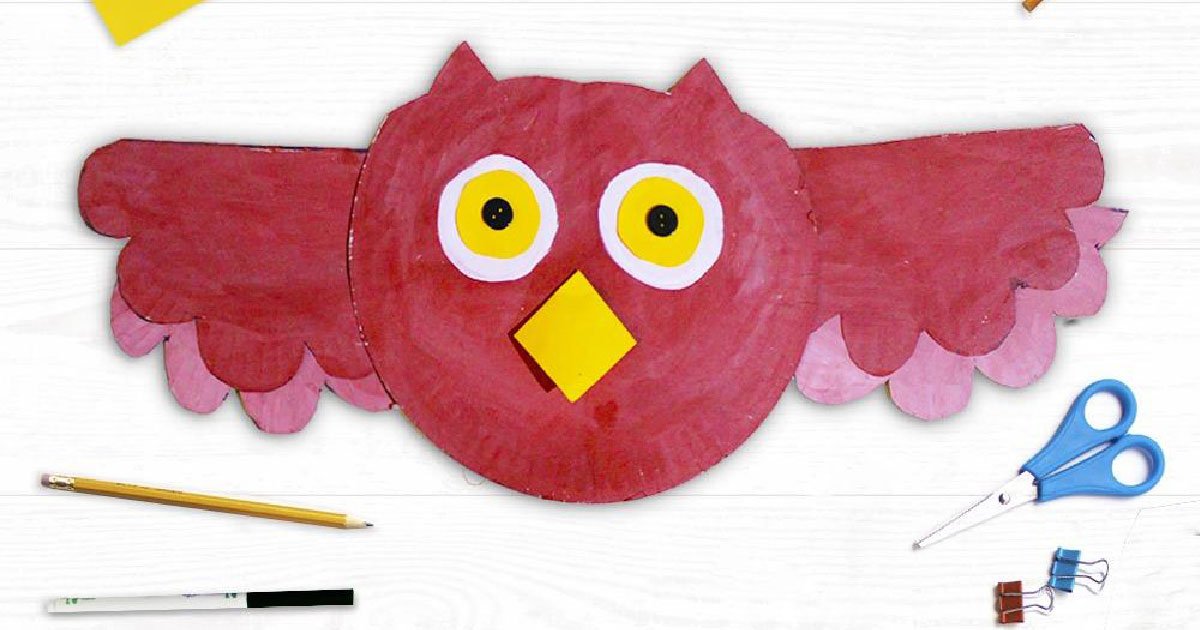
How to Make a Paper Plate Owl
Images Source: diy-magazine.com
Introduction:
In this tutorial you will learn how you can create this cute and easy paper plate owl. This instruction is a great way to stay creative with supplies everybody has at home. All you need are the following tools and materials:
Tools:
- Pencil
- Marker
- Ruler
- Paintbrush
- Scissors
Materials:
- Three pieces of paper plates
- Glue
- 3 Poster Paints (preferably white, brown and black) or you use an opaque paint box
- Yellow paper
- Buttons for the eyes or use a black marker if you don’t have any buttons
- Optional: A string to hang up the final paper plate owl
Instruction:
Step 1: Create wings of the paper plate owl

Get one of the paper plates and fold it in half.
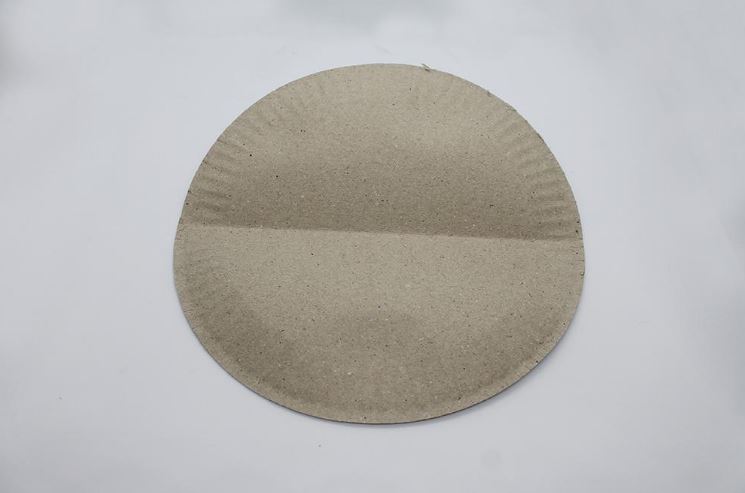
Make sure you crease the paper plate well, then unfold it.
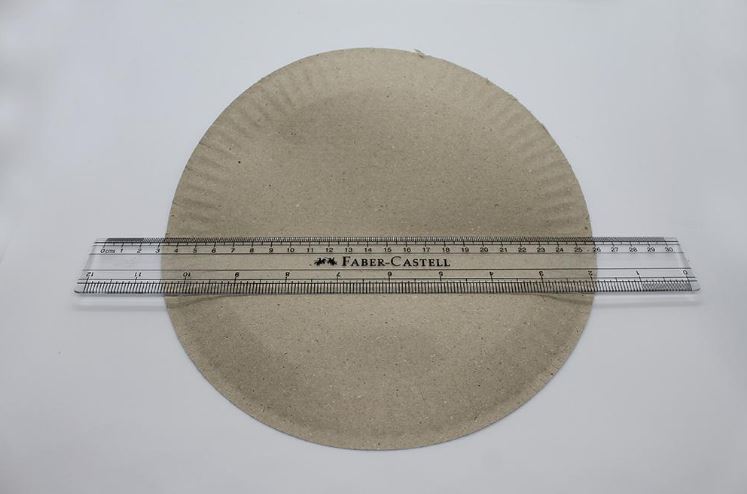
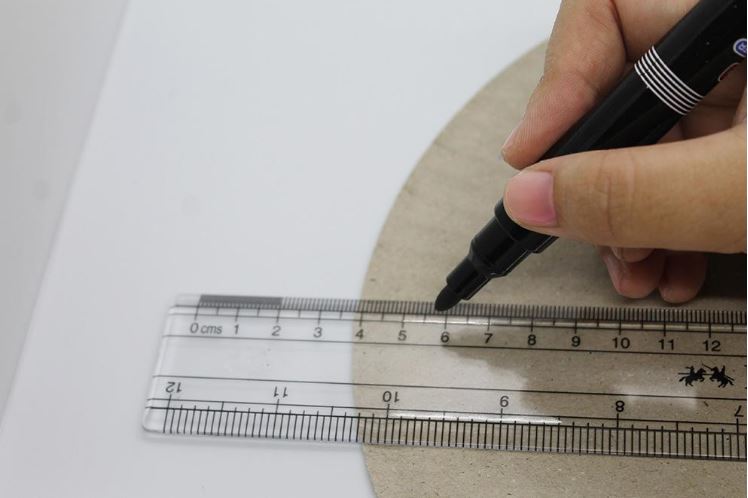
To see a little bit better, where you made the crease, grab a ruler and align it on the crease you made. After that, grab the marker and mark the crease with it. If you don’t have a marker you can also mark the crease with a thick pen or pencil.
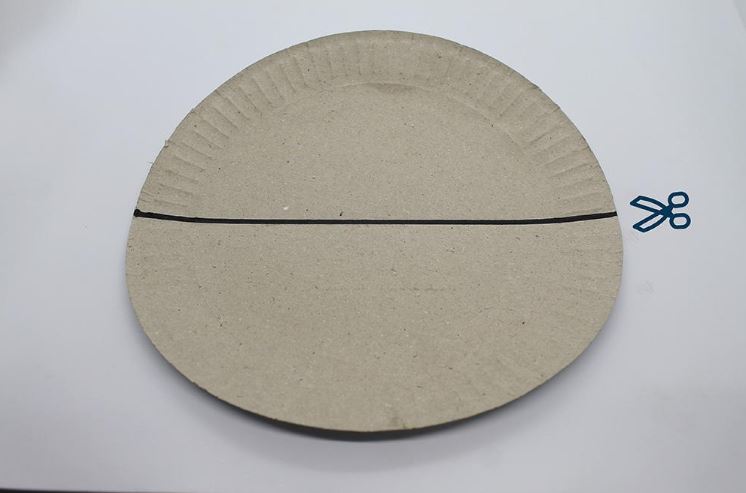
After you’ve marked the fold, cut along the line, make sure you’ve marked the fold correctly, and both halves have the same size. Otherwise the wings will be different sizes.
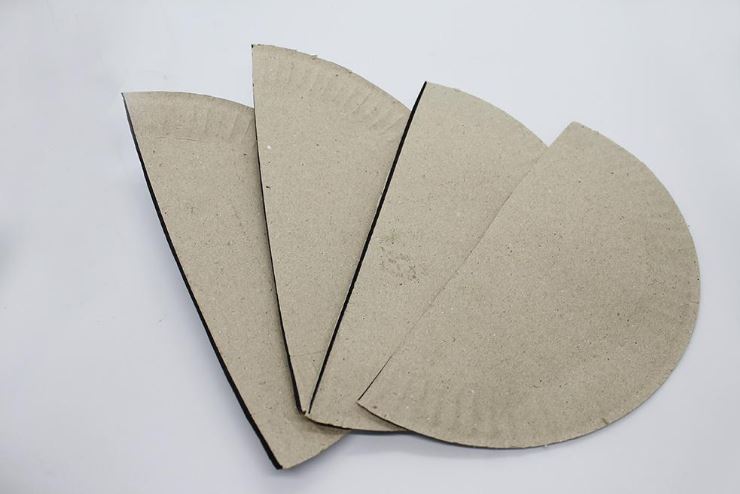
Take another paper plate and cut it half as you did with the first paper plate. After that, you should have four same-sized wings for the paper plate owl.
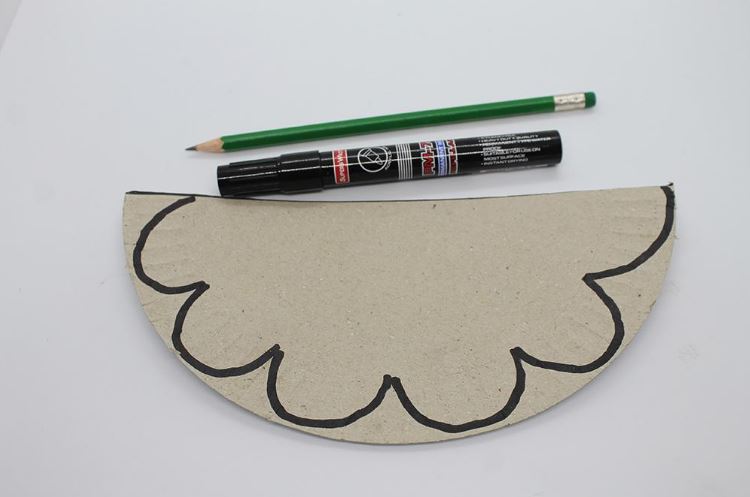
To make the wings more realistic, take one of the halves and draw the upper pattern on it. We recommend using the pencil for sketching out the design of the wings. Then use the marker to trace the lines. Finally, cut out the wing pattern with a pair of scissors.
If you have a different design in your mind, don’t hesitate to use it. Make your paper plate more individual.
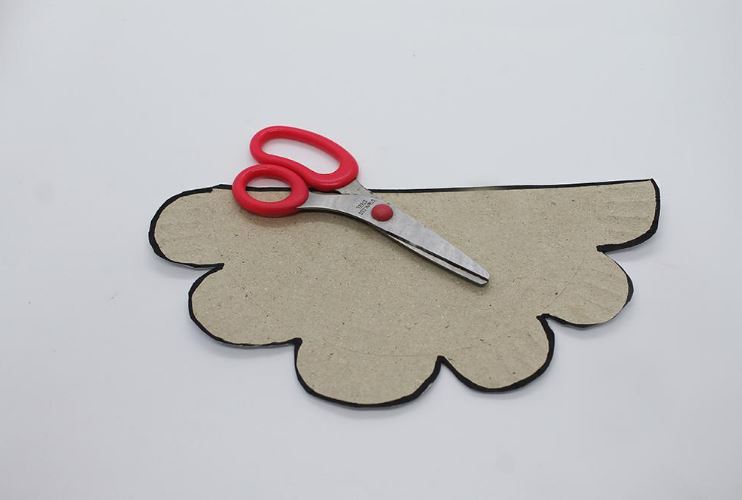
After you’ve cut out the first wing, you can use it as a template for the remaining three wings. Use the pencil again to draw around the template and use the marker to make the lines bigger.

Step 2: Color the wings of the paper plate owl
Before you start coloring the wings of the paper plate owl, keep in mind to color the wings in two different color shades to make them more realistic.
Therefore paint two paper plate wings brown.
Mix the brown with some of the white paint for the remaining two wings to get a lighter shade.
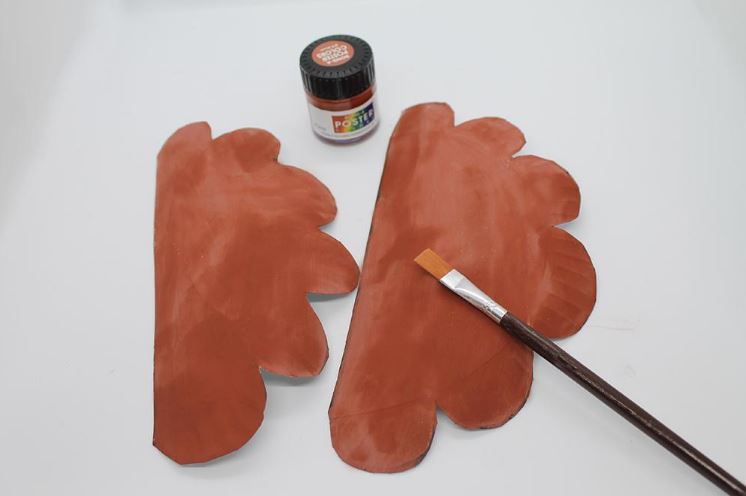
Mix the brown with some of the white paint for the remaining two wings to get a lighter shade.

Step 3: Glue the wings together

In Step two, you colored the wings with two colors. To create the first whole wing, place two different colored wings on top of each other.

First of all, we are going to create the right-wing. Therefore slightly place the top wing in a slanted position so that the wing looks spread out. After placing both wings correctly on top of each other, glue them together.

To create the left wing, repeat the previous step. Make sure the left and right wings have a similar shape.
Viola! Now you have successfully created a beautiful pair of wings for the paper plate owl. In the following steps, we are going to make the body.
Step 4: Create the body of the owl
Hey! Thank you very much for creating the paper plate owl so far. This article is a guest article from www.diy-magazine.com. If you want to build the rest of the paper plate owl, you will find this instruction and many more paper plate crafts for kids and adults here.