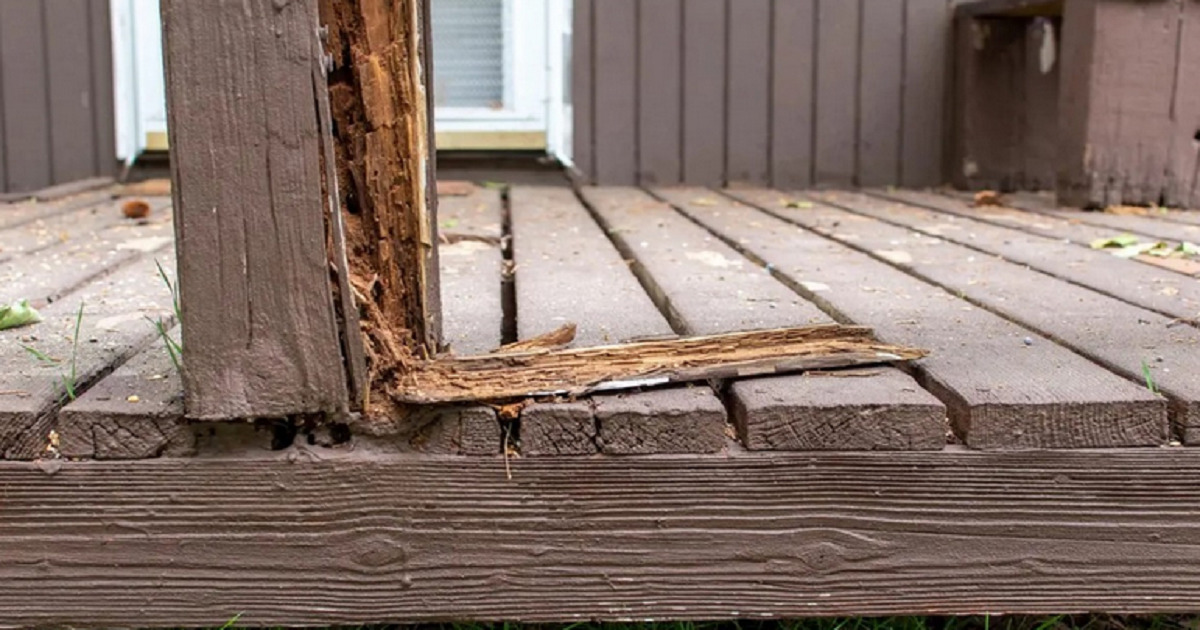
How to Fix Rotted Wood: A DIY Guide

source: Handy Andy Hawaii
Are you tired of that pesky rot on your wooden fixtures? Don’t worry; you don’t need to be a woodworking pro to tackle this problem. Grab your 100-grit sandpaper, polyester filler, and wood hardener; we’re about to dive into the world of fixing rotted wood!
Wood Rot
Before we roll up our sleeves, it’s important to know what we’re up against. Wood rot is like the villain in a superhero movie, silently undermining the structural integrity of your wooden items. It’s often caused by excess moisture and can turn your beautiful wooden surfaces into mush. But fret not, we’ve got the tools and tips to combat this menace.
Prep Your Battle Gear
First things first, gather your trusty weapons:
100-grit Sandpaper: This is your superhero cape, ready to smoothen out rough edges and prepare the surface for treatment.
Polyester Filler: Think of this as your spackle, ready to fill in those rotted gaps and restore your wood’s strength.
Wood Hardener: Your wood’s shield against future rot; this hardener will strengthen the wood fibers.
Safety First
Before you jump into action, make sure you’re dressed for the part. Safety goggles and a dust mask are like your secret identity – they protect you while you save the day. Rotted wood can be dusty and full of surprises, so take precautions.
Sand Away the Decay
Take your 100-grit sandpaper and start sanding the affected area. Be thorough; you want to remove all the decayed wood until you reach solid, healthy wood underneath. This might take some elbow grease, but trust us; it’s worth it.
Apply Wood Hardener
Now that you’ve unveiled the solid wood beneath, it’s time to fortify it. Apply the wood hardener generously to the affected area. It will penetrate deep into the wood, strengthening it and making it less susceptible to future rot.
Fill the Gaps with Polyester Filler
Once the wood hardener has dried, it’s time to use your polyester filler. Think of this step as giving your wood a facelift. Apply the filler to the damaged area, shaping it to match the contours of the wood. Smooth it out as best you can; it’s like applying icing to a cake.
Sand It Smooth
After the filler has dried, grab your sandpaper again. This time, use a finer grit (around 220) to smooth out the patched area. Sand until it’s flush with the surrounding wood, just like blending makeup for a flawless finish.
Finish It Up
Now that your repair work is complete, you’re almost done. Sand the entire surface lightly to ensure a uniform appearance. Then, finish it with paint, stain, or a protective sealant to keep future moisture at bay.
With your 100-grit sandpaper, polyester filler, and wood hardener, you’ve transformed your rotted wood from zero to hero. Wood rot may be a formidable foe, but armed with the right tools and a dash of DIY spirit, you can rescue your wooden treasures and make them shine once more.
So go ahead, tackle that rotted wood project with confidence. With these simple steps, you’ll be the hero of your DIY story, saving your wooden items and making them look great again. And remember, with great power comes great responsibility – so keep those tools handy for the next adventure in your DIY journey!