My favorite flowers have always been roses, peonies, and hydrangeas. I love to receive floral arrangements that include these varieties, but I especially love to grow my own. Unfortunately, these varieties also happen to be among the priciest of the plants! So when I stumbled upon a way to propagate hydrangeas from existing plants, I knew I had to try it.
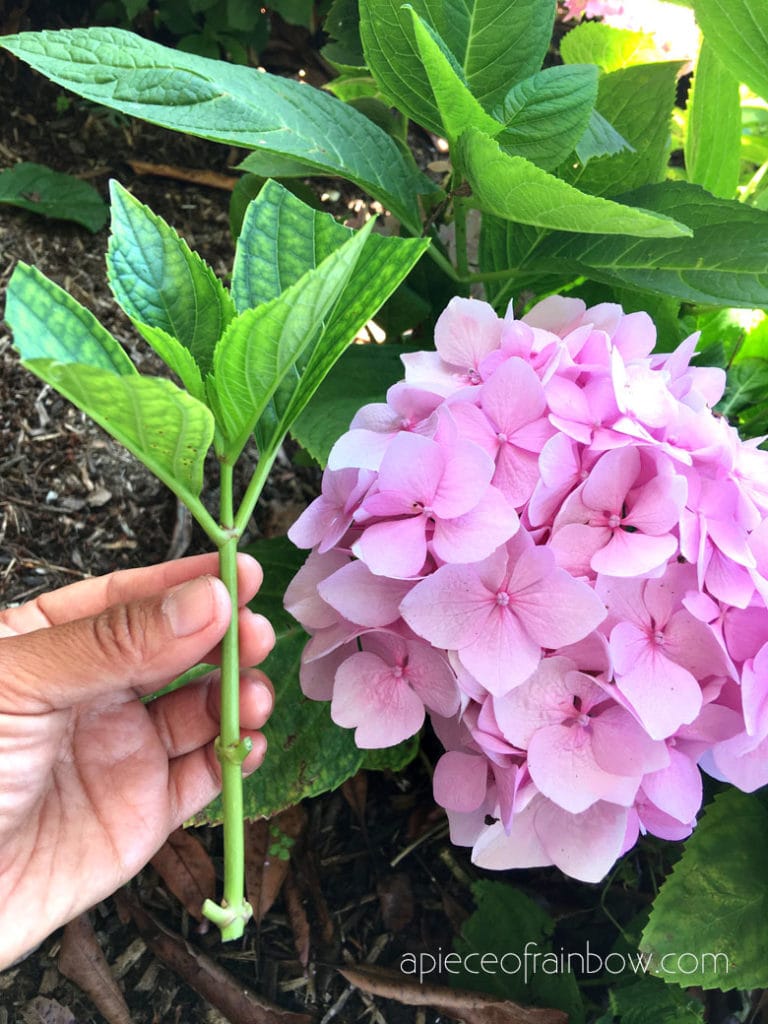
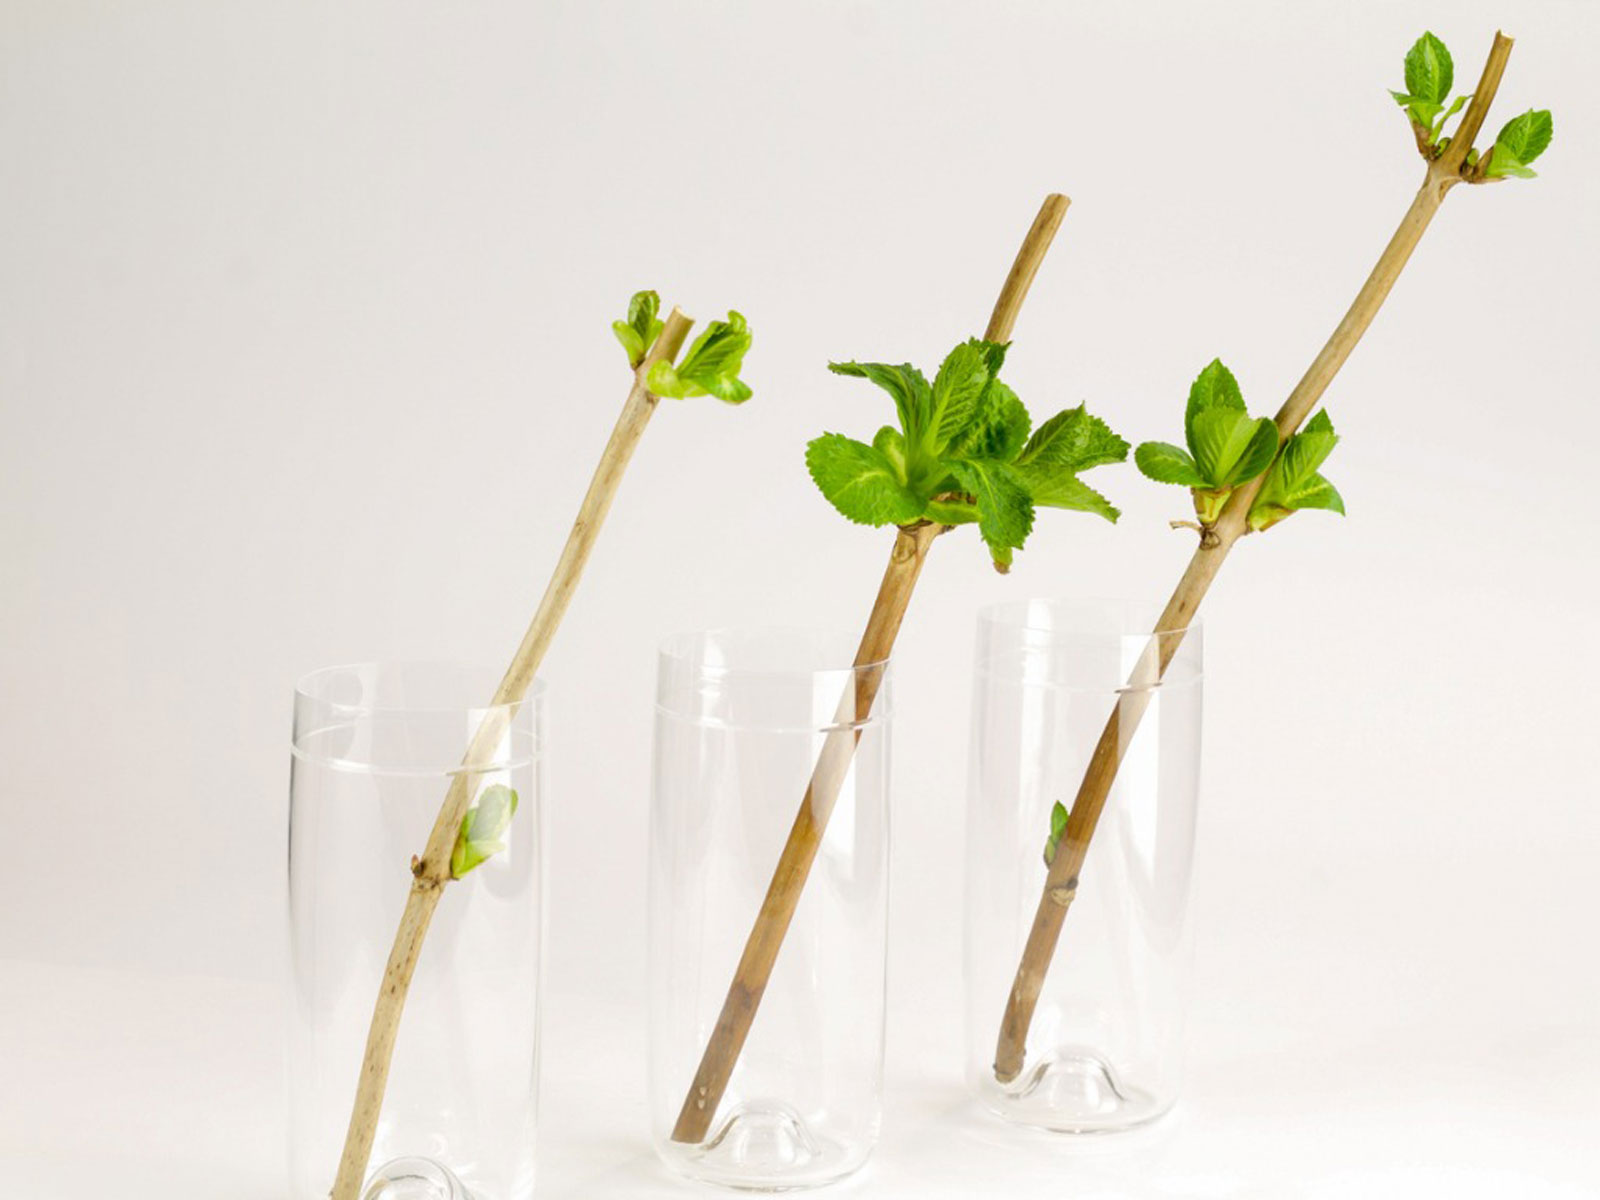
The first step is either having existing hydrangea bushes in your garden, or finding a friend or family member who doesn’t mind letting you take some clippings. If you have neither, you can always grow your own hydrangeas from seeds – you just have to have a little patience! Once you’ve located a mature plant, use a pair of sharp, disinfected pruners to cut a stem about 5″ long. Make sure you are cutting above a node, and find a stem that has lush, healthy green leaves on it. Remove all of the leaves except the top ones, then immediately place in a cup of lukewarm water.
Once you’ve gathered the desired amount of clippings, it’s time to plant them. Using a good quality potting soil, plant the cuttings in the soil so that at least two of the nodes are covered. Pack the soil firmly around the base of the stem. Many people choose to use fertilizers or rooting hormone to encourage the cuttings to grow more quickly and robustly. Choose a pot with drainage holes so the roots don’t become waterlogged.
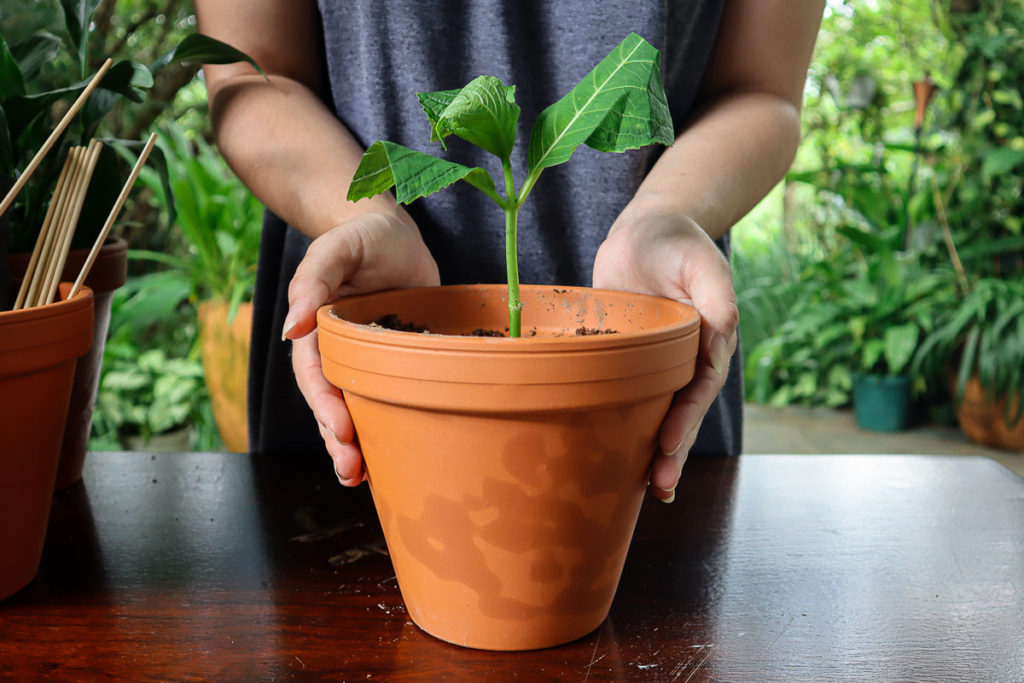
Water your cuttings regularly so that the soil doesn’t get dried out. Place in an area with indirect light. As the cutting grows, you will likely need to transfer it into a bigger pot until the plant and roots are developed enough to make it in the garden. Then, you’ll be well on your way to a garden full of hydrangeas! I love how simple this method is, and I can’t wait to fill our front and back gardens with beautiful hydrangeas in a variety of colors.
Got leaves but no blooms? Find out why your hydrangeas might not be blooming and how to fix it.