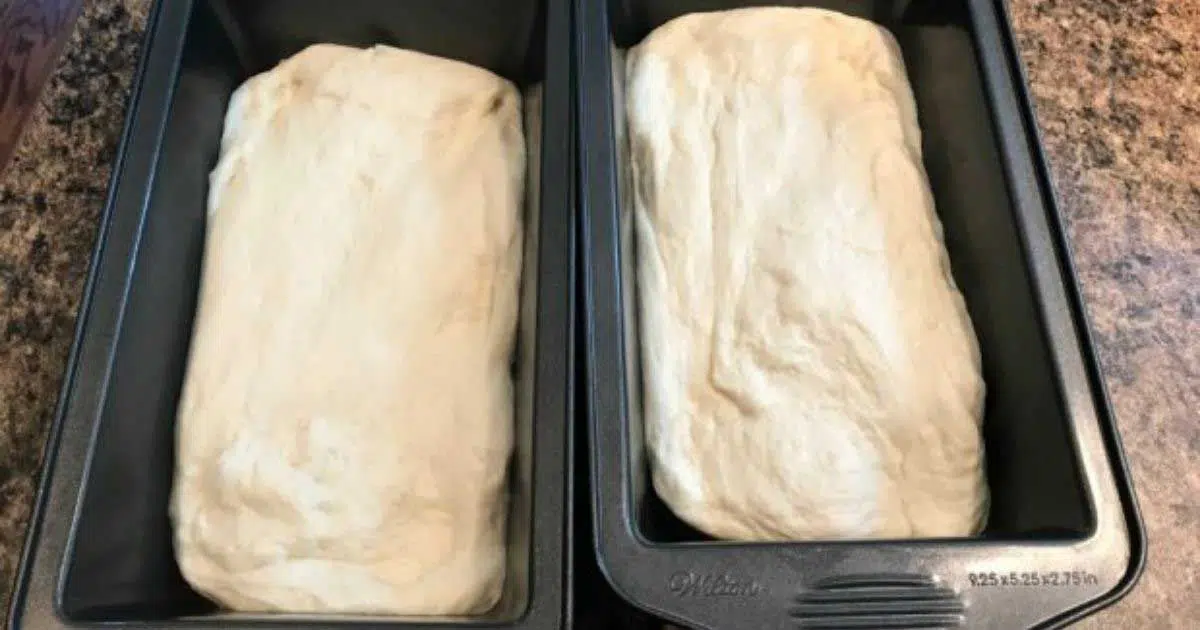
The first loaf I ever pulled out of my own oven looked fine. Golden on top, a nice shape, the smell filling the kitchen the way bread smells in commercials. Then I set it on the counter and it landed with a thud. A dense, heavy thud, like I’d baked a doorstop. I stood there holding the oven mitt, honestly confused, thinking I followed the recipe. And I had. Sort of. What I learned over the next few months is that most bread baking mistakes trace back to a short list of repeat offenders. Fix those, and the thud turns into something soft and tall. Here’s what tends to go wrong, why, and how to get past it.
Killing Your Yeast Before It Even Starts
Yeast is a living thing, and it’s pickier than it looks. The most common way people wreck a loaf before mixing even finishes is with water that’s too hot. Hot liquid kills the yeast outright, and dead yeast does not rise. Go too cold the other way and the yeast turns sluggish, so the dough crawls along while you wonder what’s wrong.
Salt is the other quiet troublemaker. Dumped straight on top of the yeast, it can slow fermentation, though the small amounts used in bread dough won’t normally kill the yeast. So when you’re measuring into the bowl, you can keep the salt and the yeast on opposite sides until mixing, though brief contact isn’t usually a problem.
And old yeast simply won’t do its job. If your packet has been in the back of the pantry for ages, proof it first in a little warm water with a pinch of sugar. If it foams up, it’s alive. If it just sits there, toss it and start fresh.

Measuring Flour by Scooping Instead of Weighing
This one got me for a long time. Dunking the measuring cup straight into the flour bag packs it down and crams in way more than the recipe wants. The result is a stiff, dry dough that bakes into a dense loaf. Volume cups are also wildly inconsistent, so your cup and my cup can hold noticeably different amounts.
The cleanest fix is to weigh your flour on a kitchen scale. It’s the single change that made my bread predictable. No scale? Spoon the flour loosely into the cup and level it off with a knife instead of scooping.
The opposite error matters too. Too much liquid gives you a slack, sticky mess that won’t hold its shape. Flour and humidity vary, so read the dough in front of you rather than trusting the cup blindly. Add liquid or flour a little at a time until it feels right.
Under-Kneading (and Why the Window Test Helps)
Kneading builds the gluten network that traps gas as the dough rises. Skip enough of it and the dough can’t hold those bubbles, so it bakes flat and tight. Under-kneaded dough is one of the sneakiest bread baking mistakes because everything looks okay until the loaf comes out dense.
The way to know you’re there is the windowpane test. Pull off a small piece and stretch it thin between your fingers. If it stretches to near-translucent without tearing, the gluten is developed. If it rips right away, keep going.
One thing worth knowing: you really only knead hard that first time. After the dough has risen, the handling you do is mostly about shaping and preserving the gas already in there, not working it harder. Punching it down and then wrestling it for ten more minutes just undoes your rise.

Rushing or Overdoing the Proof
Proofing is where patience pays off and where most of us get impatient. Under-proofed dough goes into the oven tight and underdeveloped, so it barely rises and feels cramped. Over-proofed dough has the opposite problem. It inflates too far, runs out of structure, and collapses, often with a flat, slightly sour, washed-out flavor.
If a recipe asks for a full final proof, give it the full time. Rushing dough has consequences. But also read the dough, not just the clock. The poke test helps: press a floured finger gently into the surface. If the dent springs back slowly and only partway, it’s ready. If it springs right back, it needs more time. If it doesn’t spring back at all, you’ve gone too far.
One habit that quietly saves loaves is covering the dough at every stage. Left uncovered, the surface dries and forms a skin that crusts over and fights the rise. A damp towel or a lid is enough.
Oven Temperature and Steam Problems
Your oven dial and your oven’s actual temperature are not always on speaking terms. A cheap oven thermometer tells you the truth, and preheating fully before the loaf goes in matters more than people think. Bread needs that early blast of heat to spring.
Steam is the other half. Without moisture early in the bake, the crust sets too fast and comes out pale and thin. A pan of water on the lower rack, or a few ice cubes tossed in as you load the loaf, gives you that crackly, deep-colored crust.
Then there’s underbaking, which leaves a gummy, raw-tasting middle. Honestly, bake it longer than you think. Pull it when the crust is well-colored and the loaf sounds hollow tapped on the bottom.

Slicing the Loaf Too Soon
This is the mistake I made the most, because a hot loaf is impossible to resist. But cutting bread while it’s still hot lets all the steam rush out and leaves the crumb gummy and compressed, because the inside is still setting as it cools. The structure firms up during that rest.
The fix is boring and hard: let it cool on a wire rack so air moves underneath. I ruined more than one good loaf hacking into it five minutes out of the oven, convinced this time would be different. It never was. The same impatience trips people up elsewhere in the kitchen, which is why the most common mistake people make baking cookies rings so familiar.
Build Good Habits, Not Perfect Loaves
Most bread baking mistakes repeat, so change one thing at a time and keep a quick note of what you did. That’s how you learn which lever actually moved the loaf. My favorite part now is the wait. The rack, the quiet, the hollow knock when I tap the cooled bottom, and only then the knife.