You know that moment when you’re all, “oh, I’m just going to grow a few tomato plants to get the vibe” and then it’s suddenly like… vine city? I mean, the whole balcony’s eaten up from this spaghetti-monster-looking mess, like every pot is either about to tip over or has resigned? It’s as though the tomatoes smelled fear and felt, “Yeah, we live here now.” I mean, I like tomatoes. Doesn’t mean I want them staging a coup on my patio furniture.
Anyway—someone, somewhere, must’ve looked at that exact chaos and just… flipped. Literally. Like, flipped the whole operation upside down. Why not hang the plant? From above. Like it’s some kind of deranged garden chandelier. And weirdly? It kinda… works. I don’t know. Feels like a thing someone tried as a joke and then it just—kept going.
You don’t need one of those late-night TV “Topsy Turvy” contraptions either (though I kinda wanted one, not gonna lie). Just plastic. Dirt. And, I guess, a general tolerance for the possibility of failure. My mom was skeptical in that silent way that says she’s already bracing for me to forget to water it and blame the wind.
What You Actually Need (I Think?)
Okay, bare minimum stuff here:
A hook or bracket or something you believe will not dramatically fail under wet soil weight.
A plastic container. Big yogurt tub? Old takeout bucket? Whatever’s not growing mystery mold and has a lid.
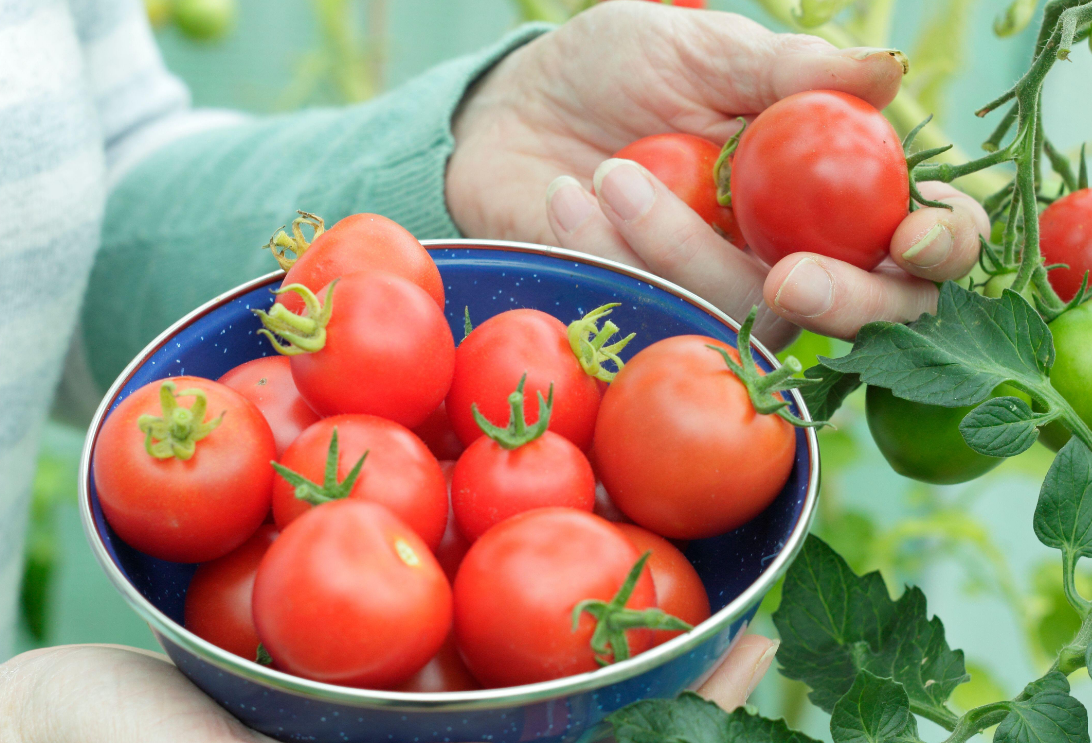
A tomato seedling. Not a seed. Seeds are for patient people and I am simply not them.
Potting mix. Not the weird clumpy stuff from your yard unless you want your plant to suffer.
Fertilizer that doesn’t act like it’s on steroids. Something chill and slow.
Watering thing. Could be a watering can. Could be a cup you jabbed a hole in with scissors. No rules.
Here’s Sorta How You Do It
Step 1: Prep the Container
So. Hole in the bottom. Which—yes—is going to be the top. Try not to spiral about it. Just… poke a hole. Big enough to gently ease a tomato plant through without hearing that awful snap sound. You can drill, stab, gently melt—whatever feels spiritually correct.
Also double-check the lid is tight because if not, your plant will literally rain on your life. No one needs unexpected dirt showers at 7 a.m.
Step 2: Dump in Some Potting Mix
Start with like two-thirds full? Don’t overthink the volume. You just need space to nestle the plant inside once it’s dangling out. First time I did this, I was 80% sure I was doing it backwards, but you push through.
Step 3: Shove the Plant Through (Gently)
Okay. This part feels wrong. Like, morally. You’re going to thread the tomato seedling through the hole. Leaves out the bottom. Roots inside. You’ll feel like you’re betraying its trust. It’ll forgive you. Probably.
Add more potting mix once it’s in so it’s cozy in there. Not wiggly. If it feels like it could take flight, start over.
Step 4: Sprinkle Some Fertilizer
Slow-release. Nothing intense. Just enough to give it a little boost. Don’t measure. This isn’t a baking show.
Step 5: Water It (But Maybe… Outside?)
Give it a solid drink, but not like you’re baptizing it. Damp, not drowning. If water’s pouring out the bottom, congratulations—you’ve made compost tea for your downstairs neighbor.
Step 6: Hang the Thing (Try Not to Panic)
This is the terrifying part. Hanging it. Use something sturdy—tree branch, iron hook, delusional confidence in a balcony railing. Remember: wet soil is heavier than it looks. So is your shame if it crashes mid-barbecue.
Also. Sun. It needs lots. Like, annoyingly a lot. Don’t stick it in that cute shaded nook where you keep the sad succulents.
Step 7: Watch It, Water It, Try to Pretend You’re in Control
Now it’s just care and feeding. Water when it looks dry or when you suddenly remember it exists. Keep an eye out for that cursed crispy look, which means it’s dying quietly. Add a little fertilizer sometimes. Nothing precise. Just enough to feel like you’re involved.
Eventually you’ll spot these tiny little tomatoes, just dangling there like… confused ornaments. They look kind of ridiculous, in a “should I laugh or respect this?” kind of way. But they grow. Somehow. I don’t know. Nature’s weird.
Thing is—it’s not exactly a gardening breakthrough. Feels more like something you do at 11 p.m. after finding a cracked bucket in the back of the shed and whispering “what if” like a lunatic. And yet. It kind of holds up. Assuming you don’t care about elegance. Or predictability.
Best part? You get to drop phrases like “urban gardening” into casual conversations as if you didn’t just staple a plastic tub to a tree. Say “vertical farming” while your upside-down tomato plant flails in the wind like it’s unsure why it exists. It’s got… character.
Oh and apparently you can grow lemons in a cup, too? I haven’t tried that. But now I’m kind of haunted by the idea. Might poke around the kitchen later and see what’s possible.